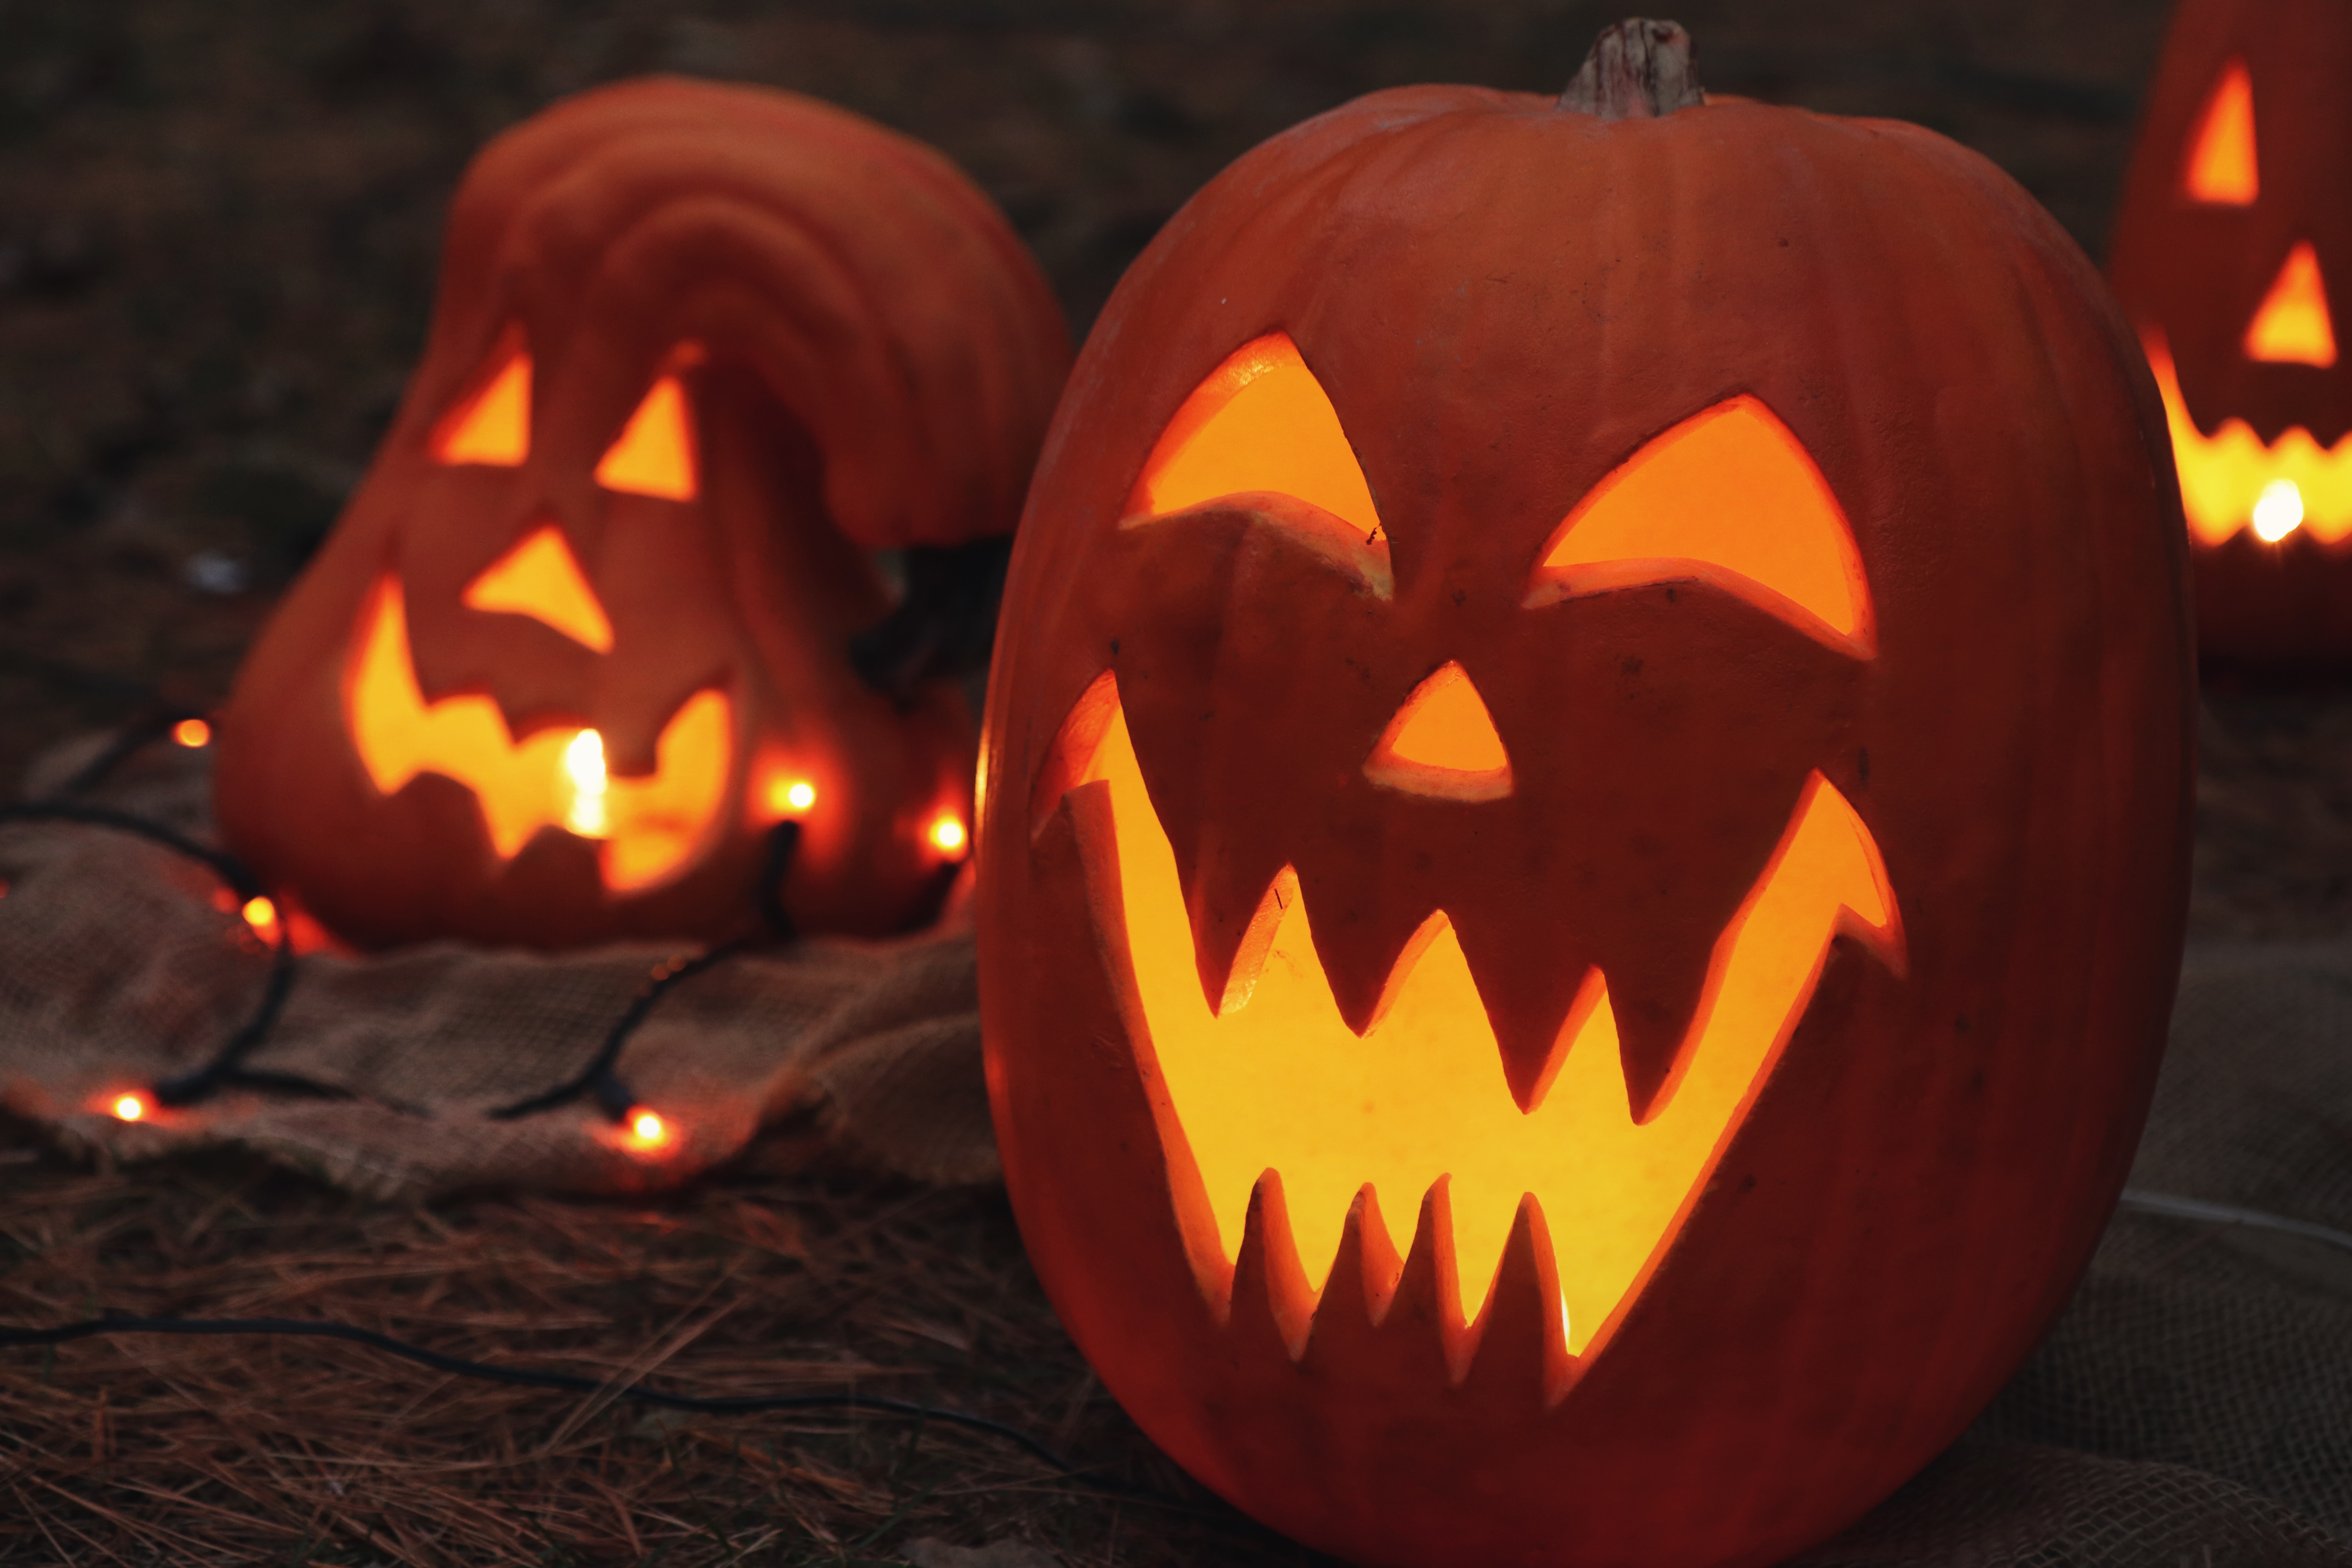
The best “barometer” for the fall season is the appearance of pumpkin spice everywhere. It seems that each year more things are getting the pumpkin treatment. However, there is one pumpkin-centric tradition that has always been a part of this time of year: carving a Jack o’ Lantern. This is the best way to advertise that on Halloween your house will be open for trick or treaters. A quick scan of Pinterest will reveal that pumpkin carving can run the range of “simple” to “award-winning.”
Here are some smart tips to help you up to your pumpkin carving game:
Make the Right Pumpkin Pick
If you embrace the idea that your carved pumpkin is going to be a work of art, then you need the right “canvas” to create that work. As you go through the pumpkin patch or your grocery store, you want to first find a pumpkin with a flat bottom that won’t roll away. You also want to have a big enough surface to cover what you’re going to create.
You can tell the health of a pumpkin by its stem. The sturdier the stem, the healthier the pumpkin. Just don’t carry the pumpkin by the stem. That can actually trigger the ripening process and that can lead to faster rotting. If the pumpkin you pick sloshes, then that is a bad pumpkin. After you pick your perfect pumpkin, get a back up (or two) just in case you miss your carving.
Clear Out the Pumpkin Innards
When carving the top of your pumpkin, try to go in with the knife at an angle. You want to create a kind of cone shape which makes it easier to replace the top. If it is straight up and down, then it could fall through. A serrated knife is ideal for this phase of your carving. As you scoop out the pumpkin innards, consider saving those for decorations. You can use them on one of your outdoor displays as “guts.”
Use a Stencil
You should sketch out the fact that you intend to carve on your pumpkin so you have something to follow. If drawing isn’t in your skillset, then you can find a template online to print out and use. Just tape that template over your pumpkin side and punch holes along the lines of the sketch. Then just follow the “dots” when carving.
Decide on Punch-Out or Skin
When carving your pumpkin, you have two options: Punch out or skin. Punch out is just what it sounds like: You will be punching out a shape to make the face. If you don’t go deep with your knife, then you can leave that inner layer of skin. It all depends on the look that you’re going for.
Opt for Illumination
The final touch for your completed pumpkin is to light it up. The old school method is to drop a candle inside. That can work but it can also be a bit of a hazard and a mess especially if you have to constantly change the candle. A better option would be to use a battery-operated candle. You can still have the flickering effect but without needing to change it out. You can also drop in colored Christmas lights. That’s a good idea if you’re using the pumpkin for indoor party decorations. Be sure to snap plenty of photos. You might make your pumpkin viral!

